Key Takeaways:
- Shelf weight capacity depends on the mounting type and wall material—always check the product specs.
- Adhesive strips and freestanding units are great options that won’t leave holes in your tile.
- Measure the space above your washer and decide what you’ll store before you buy.
- Placing heavier items closer to the brackets or on lower shelves extends the shelf’s lifespan.
- For heavier loads, consider drilling into the grout line or going with a freestanding rack.
A shelf above your washing machine is often the only solution for storing detergents, towels, and other odds and ends in a small bathroom. But when the walls are tiled and you’re renting a place where drilling isn’t allowed, putting up a shelf can feel like a major project. That said, there are several ways to get a functional shelf without damaging your tile—and keep it sturdy and safe at the same time.
In this post, we’ll walk you through the key things to know before you buy: weight capacity, mounting options, and how to organize your items effectively. We’re focusing on no-drill solutions, but we’ll also be clear about when it’s better to skip that approach altogether.
How a No-Drill Shelf Above Your Washer Works
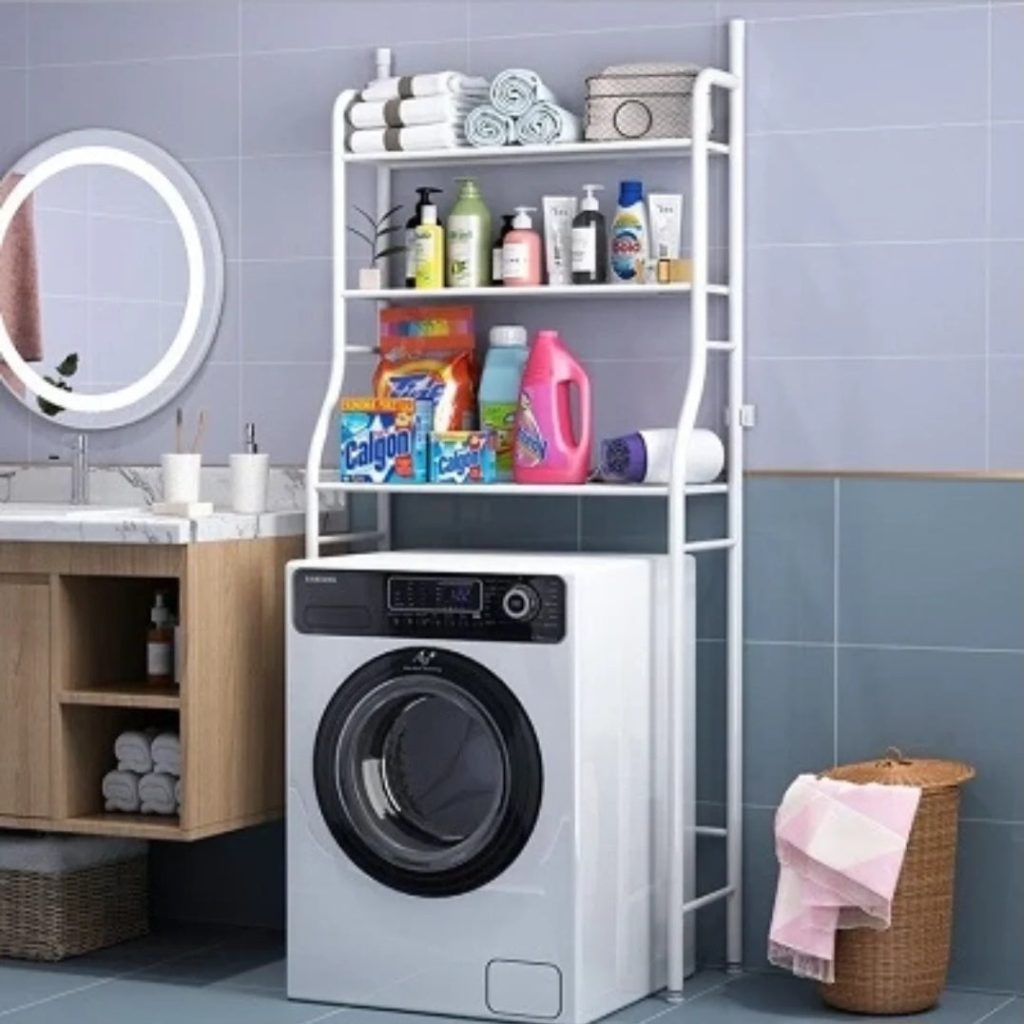
The most common option is a shelf that adheres to the tile using special adhesive strips or glue. These come in various sizes, and their weight capacity depends on the quality of the adhesive backing and the condition of your tile. Another option is a freestanding unit that sits on the floor and wraps around the machine, with no contact with the wall. This type is often more stable for heavier loads, but it does take up a bit of floor space.
Before you decide, measure the space above your washer. Height, width, and depth all matter, since the shelf shouldn’t interfere with opening the door or lid. Front-load washers need less clearance, while top-load models require enough height for the lid to swing open fully.
Weight Capacity: How Much Can You Really Put Up There
Weight capacity is the most important spec, but it’s also the one that’s most often misunderstood. Adhesive shelves typically list a capacity of 5 to 15 kg per shelf, but that assumes an ideal surface and evenly distributed weight. If you load heavy bottles on one end, the effective capacity drops significantly.
The rule of thumb is to keep heavier items closer to the wall or the brackets. If you’re planning to store large detergent jugs, it’s better to go with a shelf that has metal brackets anchored to the wall—even if that means drilling. For lighter items like towels or cleaning supplies, an adhesive shelf is more than enough.
Product pages always list the exact dimensions and weight limits. Before you buy, compare those numbers against what you actually plan to store.
No-Drill Installation: Step by Step
Once you’ve picked an adhesive shelf, prep work is everything. The tile surface needs to be clean, dry, and free of grease. Wipe it down with rubbing alcohol or a degreaser, then let it dry completely. Next, peel off the protective backing from the strips and press the shelf firmly against the wall, holding it in place for a few seconds.
Make sure the shelf is perfectly level. Use a spirit level—if it’s tilted, items will slide, and the load won’t be distributed evenly. After mounting, wait the full curing time recommended by the adhesive manufacturer before putting anything on it.
If the wall is uneven or the tiles aren’t flat, adhesive mounting won’t hold up. In that case, consider a freestanding unit or drilling into the grout line (the joint between tiles). Drilling into grout is less risky than drilling through the tile itself, but there’s still a chance of chipping the tile edges—especially without proper centering and the right drill bit.
What If Your Wall Is Uneven or the Tile Is in Bad Shape
An uneven wall or poorly installed tile can throw everything off balance. If the level difference is more than a few millimeters, the adhesive strip won’t make full contact, and the shelf could give way. In that scenario, the best bet is a freestanding shelf that rests on the floor and wraps around the washer.
Freestanding units are often more stable and can handle heavier loads because the weight transfers to the floor, not the wall. They’re ideal for rentals since they leave no marks behind. The only downside is that they take up a little floor space and need to match your machine’s dimensions.
If you still want a wall-mounted shelf and the tile is in rough shape, drilling into the grout line is your best bet. It’s an old trick that carries less risk of cracking the tile compared to drilling straight through it, and the brackets anchor deep into the wall through the grout. The hole is small and easy to fill with grout when you take the shelf down.
Organizing Your Shelf: What Goes Where
Once the shelf is up, think about how you arrange things. Put heavy bottles and jugs on the bottom shelf or closest to the wall. Lighter items like towels, gloves, or sponges can go on the higher shelves. Use baskets or bins to group small items and keep them from falling off.
Leave enough clearance between the shelf and the washer so the shelf and its contents don’t touch the machine while it’s vibrating during a cycle. For front-load washers, 5–10 cm is usually enough, but top-load models need much more—often 40 cm or more. Check your washer’s manual to be sure.
If you’re using the shelf for detergent storage, make sure all bottles are sealed tightly. Spilled powder or liquid can damage the shelf and the wall over time.
Where to Find the Right Shelf
At Smart Home Shop, you’ll find shelves in a range of depths and materials. We recommend browsing the “Organization & Storage” category and filtering by dimensions. If you’re not sure which one fits your space, measure everything and compare it against the specs.
For adhesive shelves, pay attention to the type of tape and the recommended surface. For freestanding options, check whether the height is adjustable and whether it matches your washer’s width. If you have any questions, our support team is happy to help.
Browse Our Range
FAQ
What’s the maximum weight capacity for an adhesive shelf?
It depends on the manufacturer and the type of adhesive strip, but it’s typically between 5 and 15 kg. Always check the specs on the product page.
Will an adhesive shelf leave marks on my tile?
Quality strips can be removed without residue if you warm them up with a hairdryer. However, on porous or older tiles, some marks may remain—so test on an inconspicuous spot first.
How do I know if my wall is suitable for adhesive mounting?
The surface needs to be smooth, clean, and dry. If your tiles are glossy and flat, the adhesive will bond well. If they’re matte or textured, a freestanding unit is a safer choice.
What’s better for a rental: an adhesive or freestanding shelf?
A freestanding shelf is the safest option because it leaves no marks at all. Adhesive is fine if you don’t want to take up floor space, but be prepared for possible residue when you remove it.
How much clearance do I need above my washer for a shelf?
For front-load washers, 5–10 cm above the machine is enough. For top-load models, you need enough height for the lid to open—usually 40 cm or more. Measure before you buy.